My Nexus 6P is finally rooted! What I didn't realize before getting started with the process is that it only works if you have accepted the OTA update to the latest build. The reason for this is that in order to root you have to flash a modified boot image. Chainfire based the modified boot image on the latest version of Android. He didn't even waste time on a modified boot image for the original build MDA89D.
The OTA is rolling out very slowly to devices. It seems to be making the rounds in the UK right now. I have had my 6P for a week now and still don't have the OTA. If you have yet to receive the update and are itching to root your 6P you can manually flash the OTA.
Flashing the OTA is pretty easy.
-First you will need to grab the fastboot files. Unzip this folder to your desktop.
-Grab the USB drivers and install them through your device manager
-Grab the OTA.zip and drop that file into your fastboot folder. (Don't unzip it)
-Turn on USB debugging on your phone in settings/developer settings
-Right click inside the fastboot folder, select "Open command prompt here"
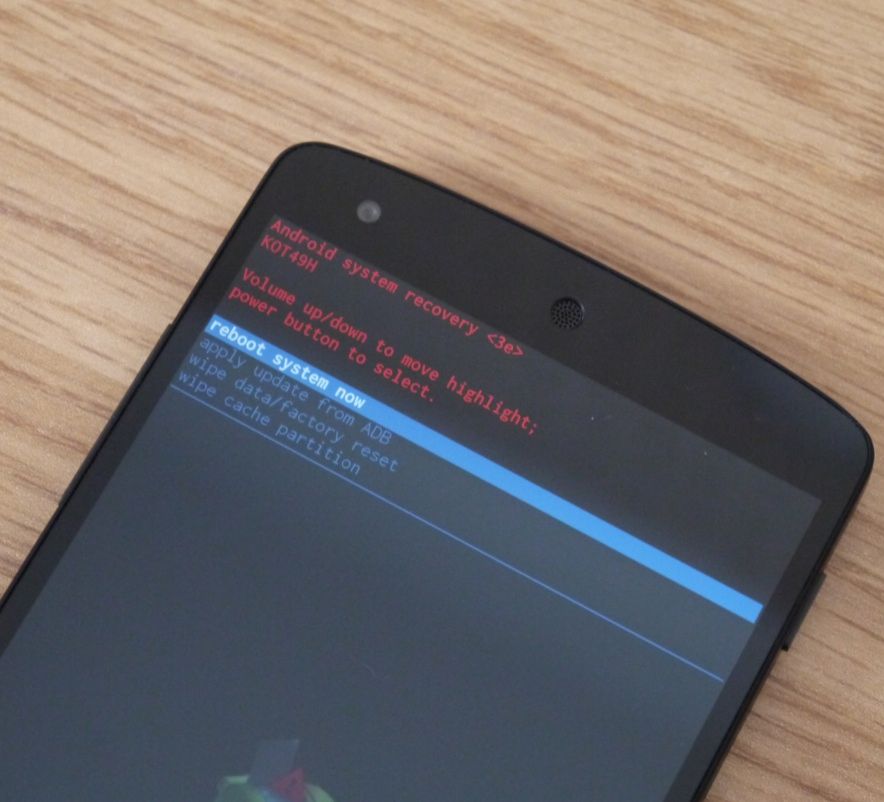
-type "adb reboot bootloader"
-Once bootloader is loaded type "fastboot devices"
-If your device is connected and the PC sees it you will see your devices serial number listed (if not something went wrong with the usb driver install)
-Type the commnad "adb sideload ota.zip" (replace ota.zip with the name of the ota file)
-Reboot
Now your file is running the proper version of Android and you can safely root it!